Set Up Pi-hole at Home: Step by Step
Pi-hole blocks ads and trackers for every device on your network at once, by filtering them at the DNS level before they ever load. It also gives you a genuinely useful log of what your devices are contacting. This walkthrough gets a basic install running safely.
Reading is great. Tracking makes it stick. Sign up for a free Dashboard to tick off tasks and see your Security Score.
Get my free Dashboard →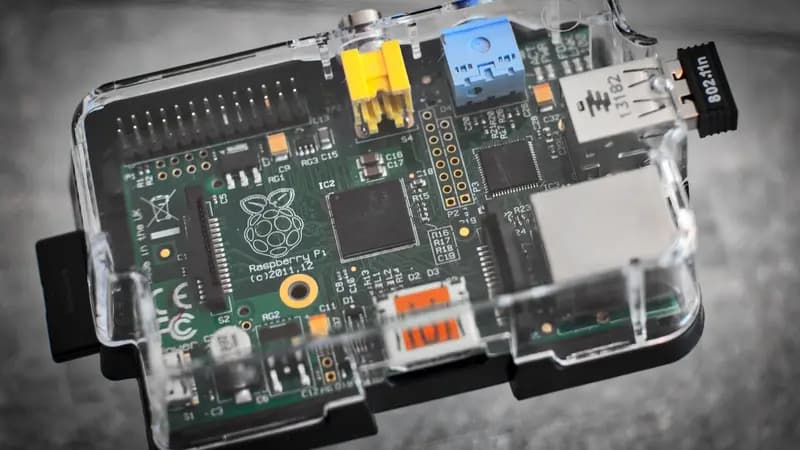
Cyber Nova AI helps you prepare for Cyber Essentials. It doesn't award or certify it. Follow the steps here to get ready, then apply for certification through an accredited Cyber Essentials body when you're set.
What you will need
- A Raspberry Pi, spare PC, or a VM on something like Proxmox, running Linux
- About 20 minutes
- Access to your router’s admin settings for the final step
Review the install script first, if you would rather not pipe straight to bash
Pi-hole’s official install is a single command that downloads and runs a script directly. If you would rather read it first:
wget -O basic-install.sh https://install.pi-hole.net && less basic-install.shNote: Optional but a good habit: this script runs with elevated privileges, so knowing what it does before running it is worth the extra minute.
Run the installer
Once you are happy with it, run:
curl -sSL https://install.pi-hole.net | bashNote: If you reviewed the script in step 1, run "sudo bash basic-install.sh" instead, from the same folder you saved it in.
Follow the setup wizard
The installer walks through choosing your network interface, an upstream DNS provider, and which blocklists to use. The defaults are sensible for a first install.
Note: Make a note of the admin password it generates at the end, you will need it to reach the web dashboard.
Point your router at Pi-hole
In your router’s admin settings, set the DNS server (sometimes listed under DHCP or WAN settings) to your Pi-hole’s local IP address. This makes every device on your network use it automatically, not just one.
Note: Changing this on the router covers your whole network in one place. Setting DNS on individual devices instead means repeating this for each one.
Check it is working
From any device on your network, visit the Pi-hole admin dashboard in a browser using its local IP address, followed by /admin. You should see queries starting to appear as devices use the network.
Note: If nothing appears after a few minutes, double-check the DNS setting on your router actually saved.
What you will have at the end
Network-wide ad and tracker blocking, plus a live log of DNS queries from every device on your network, useful for spotting anything unexpected.
Keeping it running well
Pi-hole needs very little ongoing attention once set up, but a couple of habits keep it useful rather than just installed and forgotten.
3 steps
Frequently asked questions
Will Pi-hole break any websites?
Occasionally a site relies on something Pi-hole blocks by default. You can whitelist specific domains from the dashboard in a few seconds if that happens.
Do I need a Raspberry Pi specifically?
No, any always-on Linux machine works, including a spare PC or a small VM on something like Proxmox. A Raspberry Pi is popular mainly because it is cheap and low-power.
What happens if the Pi-hole device goes offline?
Devices using it for DNS will lose internet access until it is back, unless you have also configured a fallback DNS server on your router. Worth setting one.
Track your AI safety progress. Free.
Create a free account to tick off tasks, see your Security Score improve, and know exactly what you've done and what's still to do.
Start your free security check